Digging a Hole for Gardeners: A Comprehensive, Actionable Guide
Gardening enthusiasts, take note! With over 15 years of experience under his belt, Glen, a renowned gardening expert, shares his wisdom on digging the perfect hole for your plants. Whether you're a seasoned gardener or just starting out, this guide will help you create a thriving garden.
**Preparation**
Before you start digging, it's essential to assess the site and soil. Understand your soil type—be it rocky, sandy, or clay—and clear the area of weeds and debris. If you're planting trees or shrubs, ensure the hole will be wide enough to accommodate the root ball comfortably. Measure the hole size accordingly, making it 2-3 times the width of the root ball but only as deep as the root ball height minus 1-2 inches, so the plant sits slightly above ground level. For smaller plants or bulbs, holes can be narrower and shallower.
Watering the soil before digging is also crucial, especially for garden beds. This helps check soil drainage and ensures you're working with the best conditions for your plants.
**Tools**
Choosing the right tools is vital for an efficient and successful digging process. For various tasks, Glen recommends having a spade, trowel, hoe, gardening fork, bulb planter, and even a tile spade in your toolkit. Each tool serves a unique purpose, from cutting through roots to loosening dense soil or creating precise holes for bulbs.
**Technique**
Follow these steps to dig a hole properly:
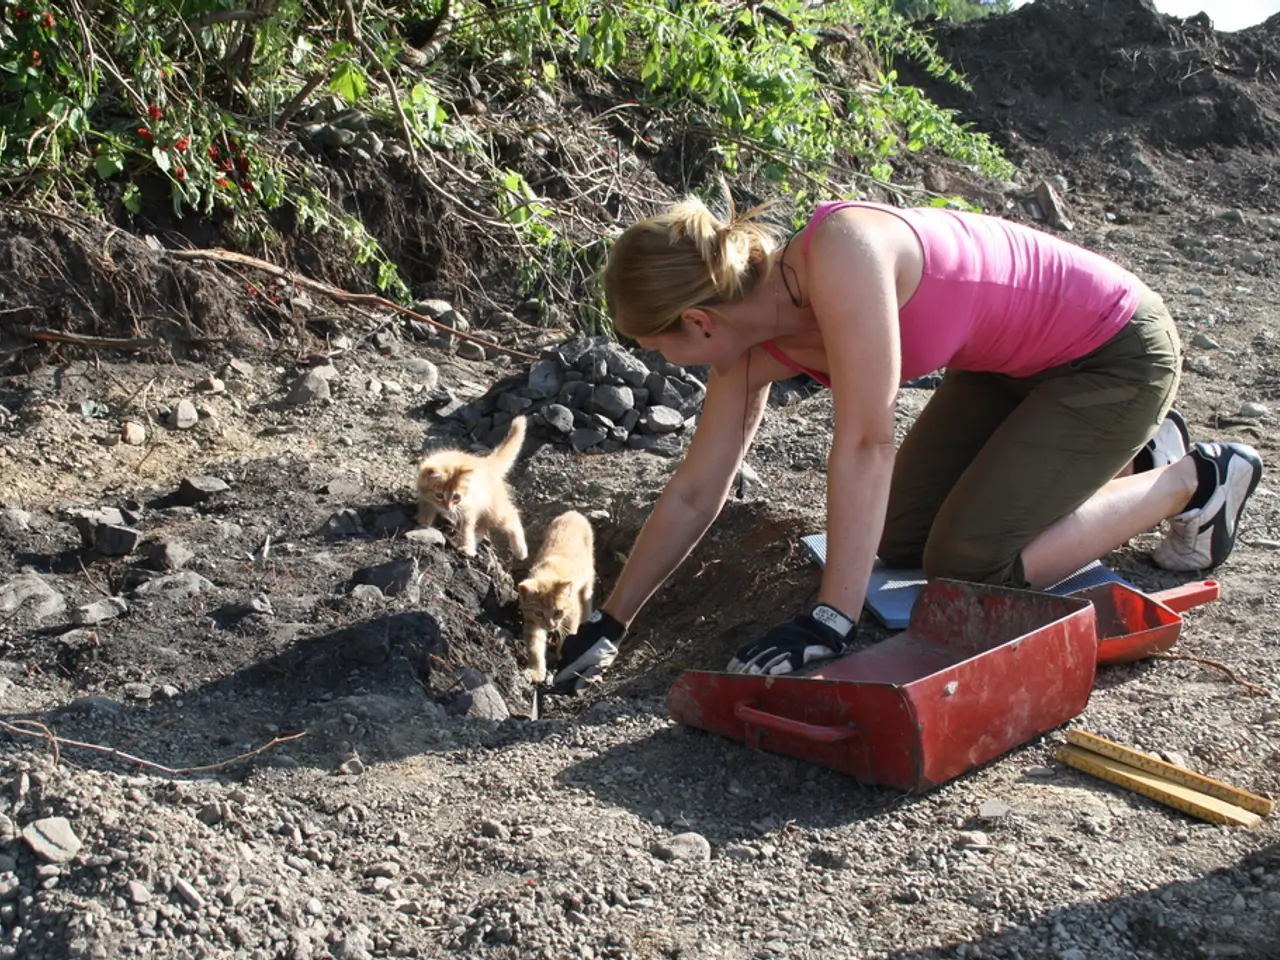
1. Mark the hole area roughly the width needed. 2. Use a spade or the appropriate tool to start digging vertically and then loosen the soil sideways to expand the hole. 3. Dig the hole wider than deep to accommodate lateral root growth, especially for trees and shrubs. 4. Slant the sides of the hole to avoid sharp edges that might impede root growth. 5. Remove large rocks and roots from the hole, using a gardening fork if necessary. 6. Test depth regularly by placing the plant or its root ball in the hole to ensure correct depth. 7. Once dug, loosen the soil at the bottom and sides to help roots penetrate more easily.
**Additional Tips**
- Protection of the surrounding area is critical, so a tarp or plywood is placed down to collect the soil. - Calling before you dig to locate underground utilities is important to avoid hitting anything potentially dangerous or disruptive. - Properly securing the posts and ensuring their alignment are key aspects to complete the installation successfully. - A wheelbarrow is used to transport excess dirt away or to the compost pile. - When using a spade for digging, Glen starts with a slight angle and leverages to scoop out soil. Keeping the blade sharp helps to ease the digging process. - Stakes are pounded into the ground and a line is strung between them to prepare for precise work.
Following these guidelines ensures the hole will properly support your plants, promote healthy root growth, and help your garden thrive.
Glen's latest posts include valuable insights on garden fungicides, candy cane peppers, and watermelon harvesting. With his expertise, you're sure to have a flourishing garden this season!
By following Glen's technique, take care to prepare your home-and-garden for a thriving lifestyle. In addition to digging the perfect hole for your plants, consider exploring Glen's recent posts on home-and-garden topics like garden fungicides, candy cane peppers, and watermelon harvesting, in the 'home-and-garden' section of your lifestyle magazine.


